Considering DIY fence installation? For New Bedford, Massachusetts homeowners looking to enhance their outdoor spaces, this comprehensive guide is your go-to resource. From understanding diverse fence options suited for New Bedford’s unique landscape to mastering the step-by-step process from measuring and planning to final touches, we equip you with practical tips for a successful DIY project. Elevate your yard’s aesthetics and security – all on your own terms.
- Understanding Your Fence Options for New Bedford Yards
- Measuring and Planning Your Fence Installation
- Preparing the Ground and Installing the Posts
- Attaching Panels and Final Touches: A Step-by-Step Guide
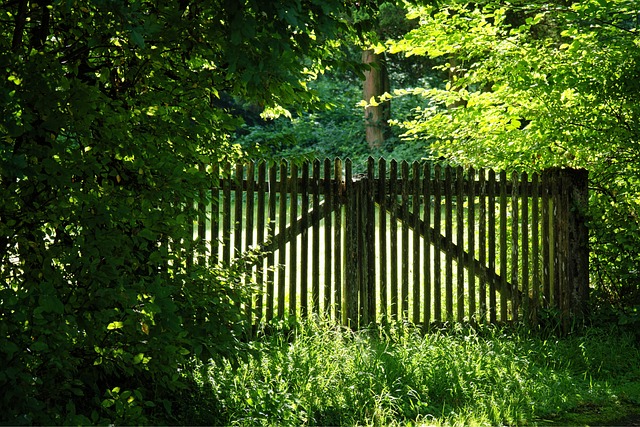
Understanding Your Fence Options for New Bedford Yards
When it comes to fencing your New Bedford, Massachusetts yard, there’s a wide array of options available. From traditional wood fences that offer both privacy and aesthetic appeal, to vinyl or composite materials that require less maintenance, each type has its unique advantages. Before you begin the installation process, consider factors like budget, climate resistance, and desired level of privacy. Wood remains a popular choice for its natural look, but it may need regular staining or sealing to protect against weather damage. Vinyl and composite fences are low-maintenance alternatives that won’t rot or warp, but they might be more expensive upfront. Measuring your yard’s perimeter accurately is crucial in selecting the right fence length and style, ensuring both functionality and a seamless fit.
Measuring and Planning Your Fence Installation
Before you start installing your fence, meticulous planning and measuring are essential steps. Begin by assessing the perimeter of your property to determine the exact length of fencing required. Use a tape measure or surveying tools for accurate measurements. Consider the type of fence best suited for your needs—wooden, vinyl, or chain-link—as this will impact both the materials needed and installation techniques. Create a detailed plan that includes gate placement, any specific design elements, and the overall layout, ensuring it aligns with local building codes and regulations.
A well-planned fence installation saves time, money, and potential headaches later on. By visualizing your project beforehand, you can effectively manage expectations and resources, making the DIY process smoother and more successful.
Preparing the Ground and Installing the Posts
Before installing the fence posts, preparing the ground is a crucial step. Start by clearing the area of any obstructions like rocks, weeds, or trees. Loosen the soil to a depth of about 12-18 inches using a mechanical aerator or a shovel. This ensures good drainage and a solid foundation for your posts. Fill in any low spots with gravel to create a level surface.
Mark the post locations according to your fence design and local building codes. Dig holes for each post, making them slightly wider than the post’s diameter and deep enough to support the length of the post above ground. Place a level in the hole to ensure it’s vertical, then set the post in position and fill the hole with concrete, allowing it to cure completely before proceeding with the remaining posts.
Attaching Panels and Final Touches: A Step-by-Step Guide
Attaching the fence panels is a crucial step in the installation process, marking the transition from rough framework to finished product. Start by aligning the panels with the posts, ensuring they sit level and flush against each other. Secure them using brackets or nails, depending on your chosen method. For a sturdy hold, use galvanised steel brackets that are designed for outdoor use; these will resist rusting over time. Fasten the brackets to both the post and panel, creating a strong bond. Once all panels are securely attached, check again for any gaps or misalignments, making adjustments as needed.
The final touches involve adding a coat of paint or sealant to protect your fence from the elements. This step not only enhances the aesthetic appeal but also prolongs the life of your fence. Use a brush or roller to apply a uniform layer of outdoor-grade paint or sealant, following the manufacturer’s instructions for drying times. Remember to choose a colour that complements your home’s exterior and the surrounding landscape.