Fences serve as both functional and aesthetic elements in outdoor spaces, and proper maintenance ensures their longevity and beauty. This article guides you through the process of fence staining and sealing, offering insights into understanding different staining techniques, preparing your wooden fence, selecting the perfect color and finish, and implementing effective sealing methods. Additionally, it provides essential maintenance tips to ensure your fence remains vibrant and protected for years to come.
- Understanding Fence Staining: Benefits and Types
- Preparing Your Wooden Fence for Staining
- Choosing the Right Stain: Color and Finish
- Sealing Techniques to Protect Your Fence
- Maintenance Tips for Long-Lasting Results
Understanding Fence Staining: Benefits and Types
Fence staining is a popular method to enhance the appearance and protect wooden fences. It involves applying a pigmented solution that can be water-based, oil-based, or solvent-based, depending on the desired finish and climate conditions. The process not only adds color but also seals the wood, shielding it from the elements, UV rays, and moisture, which are primary causes of wood rot and fading.
There are several benefits to fence staining. It offers a more durable protection compared to simple painting, as stains penetrate the wood rather than sitting on top of it. Staining also allows for greater color customization, with options ranging from natural tones that highlight the wood’s grain to bold, vibrant shades that create a striking visual impact. Different types of stains cater to specific needs, such as semi-transparent stains for subtle protection and emphasis of wood texture, or solid colors for complete coverage and dramatic transformations.
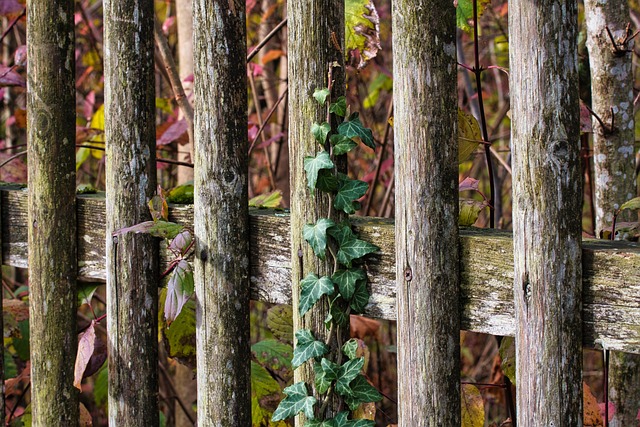
Preparing Your Wooden Fence for Staining
Before applying any stain or sealer, it’s crucial to prepare your wooden fence properly. Start by cleaning the fence thoroughly to remove any dirt, dust, mildew, or mold that might be present. Use a pressure washer or a stiff-bristled brush and mild soap to ensure a clean surface. This step is essential as it allows the stain to adhere better and creates an even finish.
Once cleaned, inspect the wood for any damaged or rotten sections. Repair or replace these areas to maintain the fence’s structural integrity. Fill in any gaps with wood putty, sand the repaired areas smooth, and ensure the fence is dry completely. This preparation process guarantees that your stained fence will be both aesthetically pleasing and durable.
Choosing the Right Stain: Color and Finish
Sealing Techniques to Protect Your Fence
Maintenance Tips for Long-Lasting Results
Regular maintenance is key to ensuring your fence staining and sealing project stands the test of time. After initial application, it’s recommended to reapply a fresh coat of sealer every 1-2 years, depending on environmental factors like sunlight exposure and moisture levels. This shields the wood from damaging UV rays and preserves its color.
Between sealings, clean your fence regularly with a soft brush or sponge to remove dirt and mildew buildup. Use a mild detergent or vinegar solution for gentle yet effective cleaning. Additionally, inspect the fence for any signs of damage, such as cracked paint or loose boards, repairing them promptly to prevent further deterioration and maintain the overall aesthetic appeal.